
Setting up the SDK
-
Unpack the SDK, which is a
.ziparchive, to a directory of your choosing. -
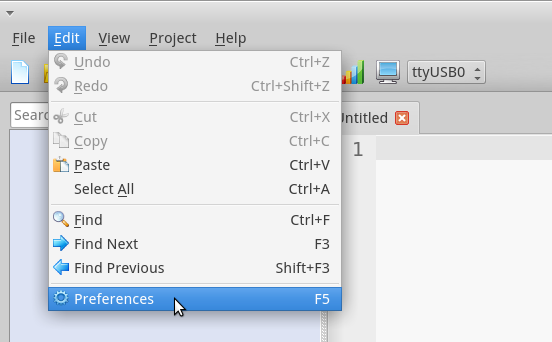
Open PropellerIDE and go to “Edit -> Preferences”.
Note: On OS X, Preferences falls under PropellerIDE, not Edit.
-
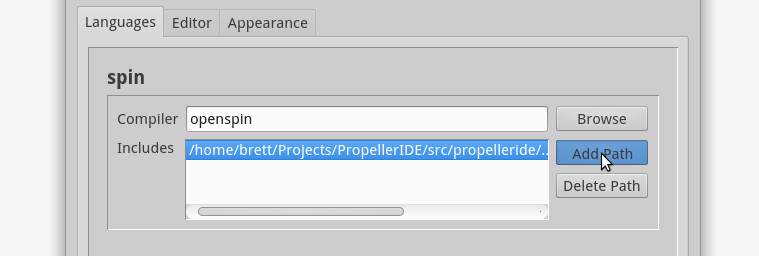
Click the Languages tab, and under Includes in the Spin box, and click Add Path to add the location of the unpacked SDK.
-
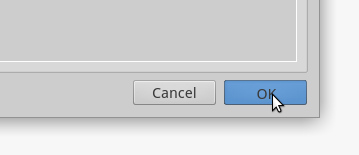
Hit OK!
PropellerIDE should now be set up for use with the LameStation.
Testing your installation
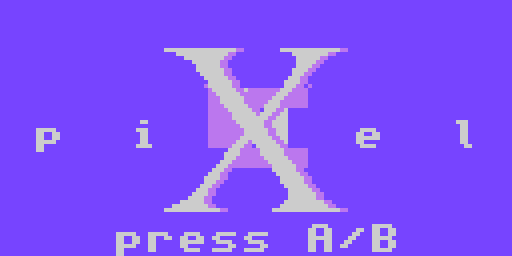
We can verify that the LameStation is working by loading a game from the games/ directory of
the SDK. Let’s start by opening games/piXel/piXel.spin and pressing F10 to download.
If it worked, you should see this screen.
If you’d like to try a different game, they follow a simple naming convention: in a folder named
AwesomeGame/, the game would be named AwesomeGame.spin.

Note: You can only have one game loaded at a time.
Troubleshooting
-
I’m getting lots of _‘NOT FOUND’_ messages. What’s the deal?
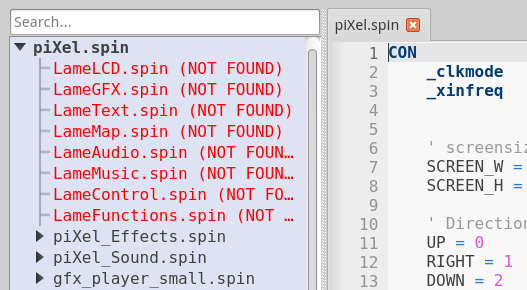
Looks like you haven’t set up the library path correctly. Make sure you properly added the SDK.